Switch on the CSC-Tool PRO
Proceed as follows:
Initial setup
- Plug in the power plug.
- The CSC-Tool PRO is starting automatically.
- Set up the monitor as follows:
- Select the language:

- Select the time zone:

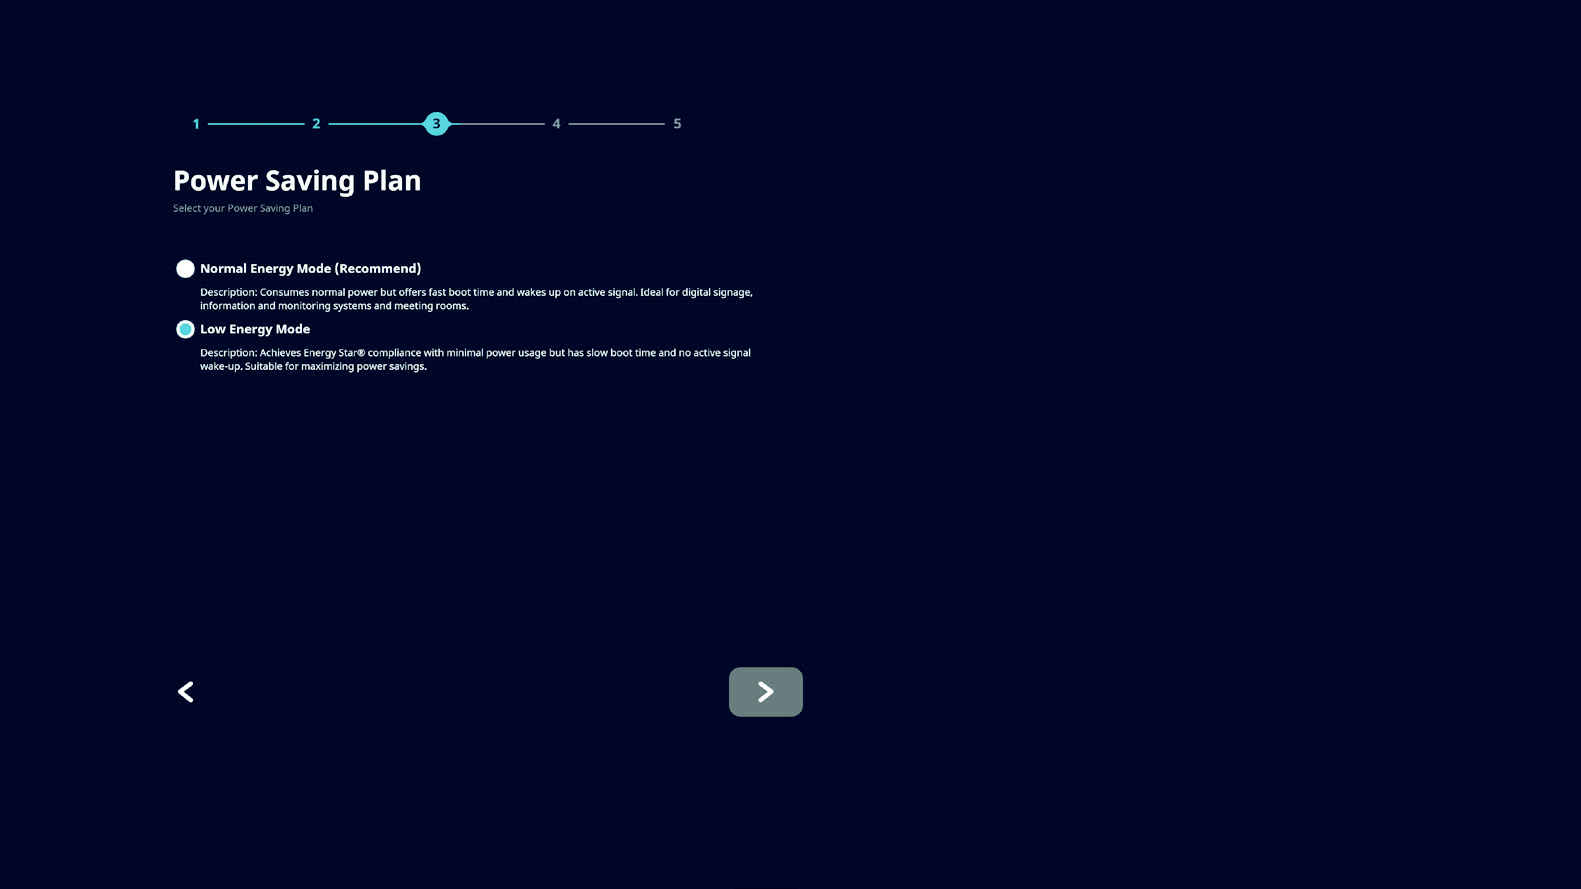
- Select energy saving mode:
- Accept / decline data protection and copyright protection:

- Select start mode and complete the initial setup via >Finish<:

- The operating system is booting and the setup wizard is opening automatically.
- Follow the instructions of the setup assistant to complete the basic system configuration.
- After completion, the login screen appears.
- Enter the access data of the Hella Gutmann account.
- For information about the Hella Gutmann account and the access data see section Hella-Gutmann Account and License Booking.
- Select >LOGIN<.
- The diagnostic interface of the Cali-OS starts.
Normal start (after initial startup)
There are two ways to start the CSC-Tool Pro depending on the device condition:
Case 1: Power plug is not inserted
- Plug in the power plug.
- The CSC-Tool PRO starts and the operating system boots.
- The diagnostic interface of the Cali-OS starts.
Case 2: Power plug is already inserted
- Briefly push the main button on the touch panel PC.
- The CSC-Tool PRO starts and the operating system boots.
- Enter the access data of the Hella Gutmann account.
- For information about the Hella Gutmann account and the access data see section Hella-Gutmann Account and License Booking.
- Select >LOGIN<.
- The diagnostic interface of the Cali-OS starts.